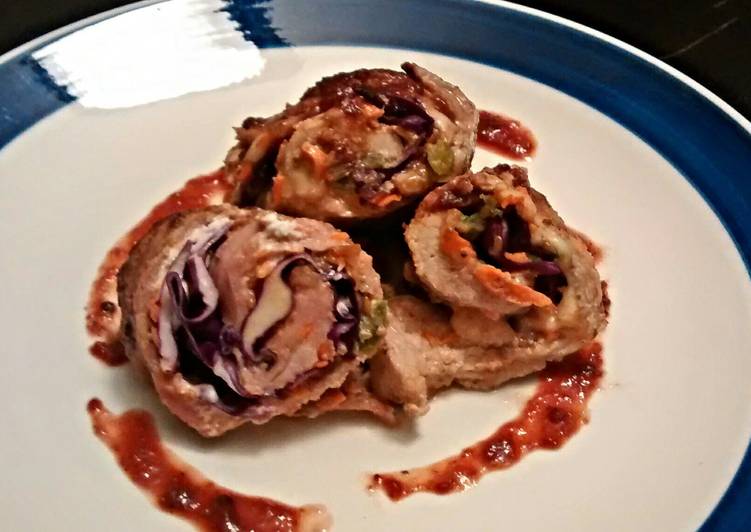
Hey everyone, it’s John, welcome to my recipe page. Today, I’m gonna show you how to prepare a special dish, ddukbokki with pork & kimchi. It is one of my favorites. For mine, I’m gonna make it a little bit tasty. This is gonna smell and look delicious.
Ddukbokki with Pork & Kimchi is one of the most favored of recent trending foods in the world. It is simple, it’s quick, it tastes delicious. It is appreciated by millions daily. They’re fine and they look fantastic. Ddukbokki with Pork & Kimchi is something that I’ve loved my entire life.
Add the onions and continue to saute just until onions start to turn translucent. Arrange the pork belly over the rice cakes, pouring the juices over top, then spread the kimchi over the pork belly and top with the shredded mozzarella and cheddar. Bake until cheese is melted and.
To begin with this recipe, we must prepare a few ingredients. You can cook ddukbokki with pork & kimchi using 11 ingredients and 6 steps. Here is how you cook that.
The ingredients needed to make Ddukbokki with Pork & Kimchi:
- Prepare oil
- Make ready pork shoulder or belly, cut into thin slices (1/8 to 1/4 inch thick)
- Make ready salt
- Make ready a small onion, cut into 1/4-inch strips vertically
- Take ripe kimchi, lightly drained and cut into 1/2-inch strips (I just bunch it all together and cut)
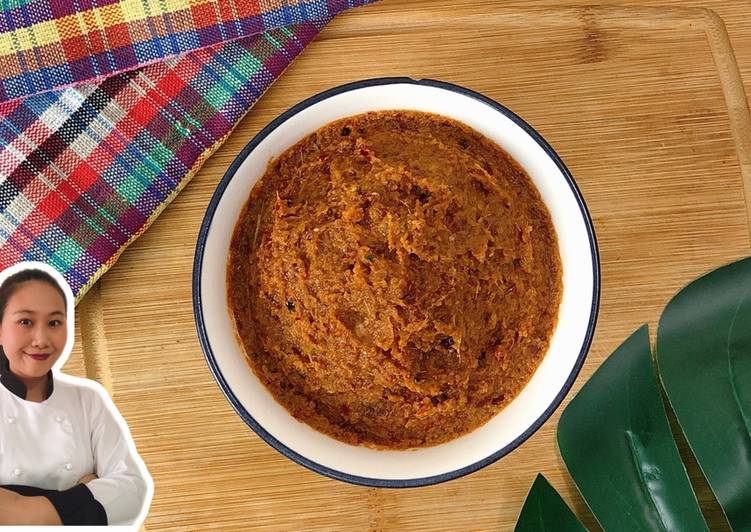
- Make ready gochujang (Korean red chili paste) to start
- Take soy sauce to start
- Make ready sugar depending on how sweet you like things
- Get water, depending on how thick or thin you like the sauce
- Prepare dduk aka Korean Rice Ovalettes that are tube shaped (not the diagonally cut flat ones)
- Make ready optional: chopped green onion and/or toasted sesame seeds for garnish
There are two versions of ddukbokki: a spicy version, and a sweet soy-sauce based version (good for kids since it's not spicy). This recipe highlights the spicy, more classic version. You can opt to add less red pepper paste, and even no chili powder powder at all. Tteokbokki (떡볶이); or stir-fried rice cakes is a popular Korean food made from small-sized garae-tteok (long, white, cylinder-shaped rice cakes) called tteokmyeon (떡면; "rice cake noodles") or commonly tteokbokki-tteok (떡볶이 떡; "tteokbokki rice cakes").
Instructions to make Ddukbokki with Pork & Kimchi:
- In a wok or large frying pan, bring 1/2 Tablespoon oil up to medium high heat and then saute the pork until it's cooked through (opaque on both sides).
- Add the onions and continue to saute just until onions start to turn translucent. Add the 1/4 teaspoon salt and stir to distribute seasoning.
- Add another 1/2 Tablespoon of oil and kimchi, and continue to saute another 2 or 3 minutes.
- Add gochujang, soy sauce, sugar, and water, and stir until gochujang is mostly dissolved.
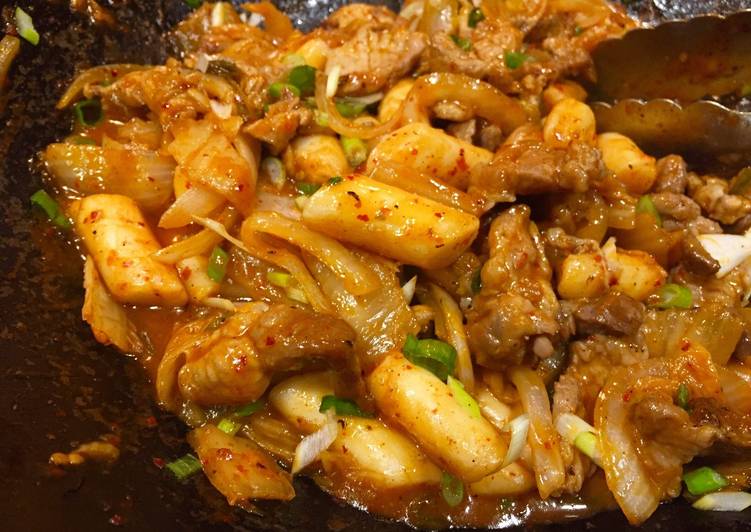
- Add dduk (rice cakes), stir to incorporate, turn the heat down to medium, and cook, covered, for 4 to 6 minutes or until rice cakes are just cooked through, stirring occasionally. (If you try to cut a piece of dduk in half with the side of a fork, the dduk should have a soft and chewy give almost completely to the bottom before you can cut through it.)
- Sprinkle with chopped green onions and/or sesame seeds if you like and enjoy! :)
Eomuk (fish cakes), boiled eggs, and scallions are some common ingredients paired with tteokbokki in dishes. Most of the time, jeukseok tteokbokki is served on the table and eat as it's cooking! So bring the original tteokbokki (jeukseok tteokbokki) pot to the table with portable gas stove. Bring the soup to boil and reduce heat to medium. Our easy pork recipes cover a variety of cuts from bacon to chops and will have you in and out of the kitchen in no time - with amazing results every time.
So that is going to wrap it up for this Best food ddukbokki with pork & kimchi recipe. Thank you very much for reading. I’m confident you will make this at home. There’s gonna be more interesting food in home recipes coming up. Remember to bookmark this page in your browser, and share it to your loved ones, friends and colleague. Thank you for reading. Go on get cooking!